
- May 30, 2026
Step-by-Step Instructions
Step 1: Prep Your Citrus
Before cutting your lemons or limes, grab a fine zester or grater. Zest the skin of one or two fruits and set it aside in a small bowl—you’ll want this later for that gorgeous, professional-looking garnish. Once zested, squeeze enough fresh juice to hit exactly 1/2 cup.
Pro-tip: Do not use bottled juice! The preservatives completely alter the flavor and can affect how well the mousse sets.
Step 2: The Blend
In a standard kitchen blender or a large mixing bowl with a hand mixer, combine the sweetened condensed milk and the heavy cream. Blend on medium speed for about 1 minute until they are completely integrated into a smooth, uniform liquid.
Step 3: Watch the Magic Happen
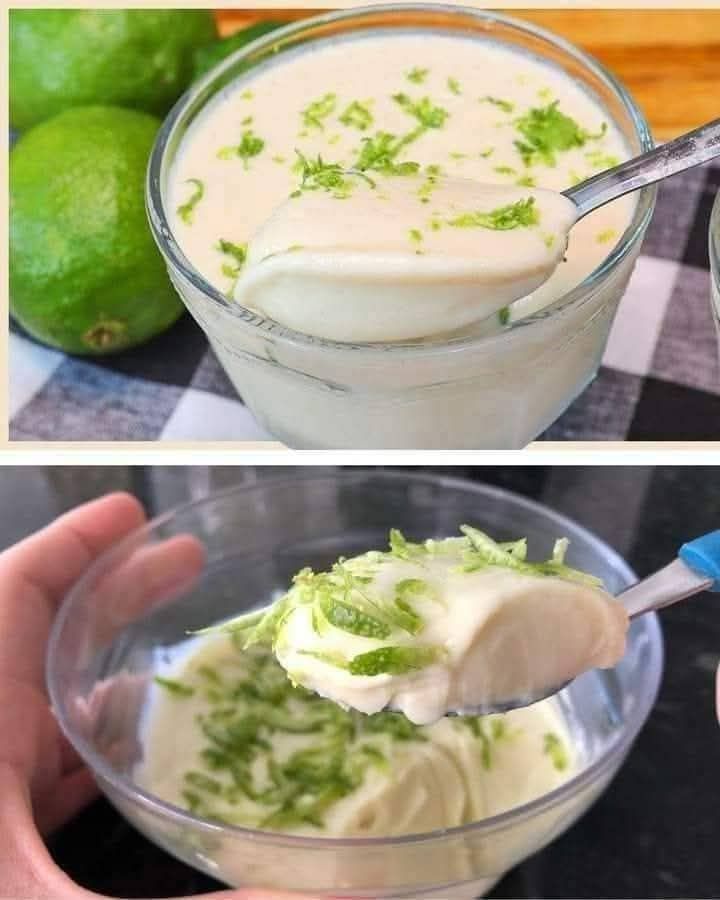
With the blender running on low speed (or while continuously whisking by hand), slowly pour in the fresh lemon juice in a steady stream. Almost instantly, you will see and hear the mixture change. The liquid will suddenly thicken up into a thick, luxurious, spreadable cream. Blend for just 1 more minute to ensure it is completely smooth.
Step 4: Portion and Chill
Pour the creamy mixture into individual serving glasses, ramekins, or one large presentation bowl. Use the back of a spoon to smooth out the top.
Pop the containers into the refrigerator for at least 2 to 4 hours. As it chills, the texture will transform from a thick cream into a perfectly scoopable, airy mousse.
Page 3: Baker’s Tips, Variations & Storage
Pro-Tips for the Best Lemon Mousse
To make sure your dessert turns out flawless every single time, keep these simple baker’s secrets in mind:
-
Lemon vs. Lime: While the original Latin recipe (Mousse de Limão) traditionally uses green limes, you can use yellow Lisbon or Eureka lemons for a sweeter, more floral flavor. Meyer lemons work beautifully too!
-
Avoid the White Pith: When zesting your fruit for the topping, only grate the very outer colored layer of the skin. The white part underneath (the pith) is incredibly bitter and will ruin the clean flavor of your dessert.
-
Control the Tartness: If you prefer a highly tart, punchy dessert, use 2/3 cup of juice instead of 1/2 cup. If you want it milder and sweeter, stick strictly to 1/2 cup.
Fun Recipe Variations to Try
Once you’ve mastered the base recipe, you can easily dress it up to create entirely new desserts:
-
The Tart Crust Shortcut: Crush up some Graham crackers or Maria cookies, mix them with a tablespoon of melted butter, and press them into the bottom of your serving glasses before pouring the mousse on top. Voila—instant deconstructed lemon pie!
-
Layered Berry Delight: Layer the mousse alternating with fresh raspberries or a quick blueberry compote for a stunning visual effect and a burst of fruity flavor.
-
White Chocolate Twist: Shave some high-quality white chocolate over the top right before serving. The creaminess of the chocolate pairs beautifully with the sharp citrus.
Storage Instructions
-
In the Fridge: Cover the serving glasses tightly with plastic wrap to prevent the mousse from absorbing any fridge odors. It will stay perfectly fresh, creamy, and delicious for up to 5 days.
-
Can you freeze it? Yes! If you freeze it in individual ramekins, it takes on a texture very similar to Italian semifreddo or gourmet ice cream. Just let it thaw on the counter for 10 minutes before eating.