


- April 6, 2026
Step-by-Step Preparation Guide
1. Prepare the Pastry Dough In a large mixing bowl, whisk together the flour, sugar, and salt. Add the chilled, cubed butter. Using a pastry cutter or your fingertips, work the butter into the flour until the mixture resembles coarse crumbs with some pea-sized pieces remaining.
In a small bowl, whisk the egg yolk and cold milk together. Pour this into the flour mixture. Stir gently with a fork until the dough just starts to come together. Turn the dough out onto a lightly floured surface and knead it 2–3 times—just enough to form a ball. Divide the dough into two equal halves, wrap them in plastic, and refrigerate for at least 30 minutes.
2. Macerate the Apple Filling While the dough chills, prepare your apples. Place the thin apple slices in a large bowl and toss them with the lemon juice to prevent browning. Add the sugar, flour, cinnamon, and nutmeg. Toss thoroughly until every slice is coated. Let the mixture sit for about 15 minutes; this allows the apples to release their juices, which will thicken into a delicious syrup during baking.
3. Assemble the Bottom Layer Preheat your oven to 375°F (190°C). On a floured piece of parchment paper, roll out one half of the dough into a large rectangle, roughly 12×17 inches, to fit a standard half-sheet pan or jelly roll pan.
Carefully transfer the dough to the pan, pressing it gently into the corners and allowing the excess to hang slightly over the edges. Spread the apple mixture evenly over the bottom crust, including all the sugary juices from the bottom of the bowl.
4. Add the Top Crust and Bake Roll out the second piece of dough to the same dimensions. Carefully drape it over the apple filling. Pinch the edges of the top and bottom crusts together to seal them tightly.
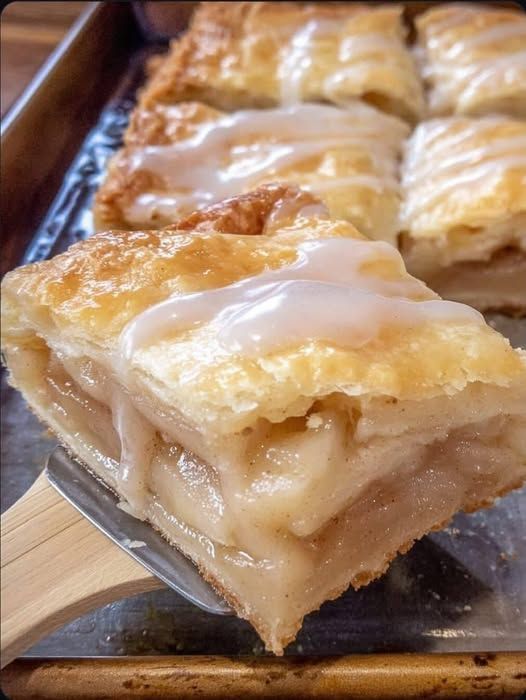
Brush the top of the pastry with the whisked egg white. Using a sharp knife or a fork, prick several holes across the top to allow steam to escape. Bake for 45 to 55 minutes, or until the crust is a deep golden brown and you can see the apple filling bubbling through the vents.
The Final Touch: Glazing and Serving
Allow the pan to cool on a wire rack for at least 20 minutes before glazing. If the pastry is too hot, the glaze will melt and disappear; if it’s slightly warm, it will set into that iconic bakery-style finish.
Whisk together the powdered sugar, milk, and vanilla extract until smooth. The consistency should be thick but pourable. Drizzle the glaze generously over the warm pastry in a zigzag pattern or spread it thinly for a full-coverage look.
Once the glaze has set and the pastry is room temperature, use a sharp knife to cut them into squares or rectangles.
Pro Tips for Bakery-Quality Results
-
The Apple Choice: A mix of Granny Smith (for tartness) and Honeycrisp (for sweetness and texture) creates the most complex flavor profile.
-
Keep it Cold: Ensure your butter and milk are ice-cold. This is what creates those visible flaky layers in the crust.
-
Storage: These can be stored in an airtight container at room temperature for up to 2 days, or in the refrigerator for up to 5 days. They also freeze beautifully—just wrap individual slices in foil and place them in a freezer bag.
-
Serving Suggestion: While these are traditionally served at room temperature, warming a slice for 10 seconds in the microwave makes for an incredible dessert, especially with a scoop of vanilla bean ice cream.


