Step-by-Step Instructions
How to Build the Perfect Bowl
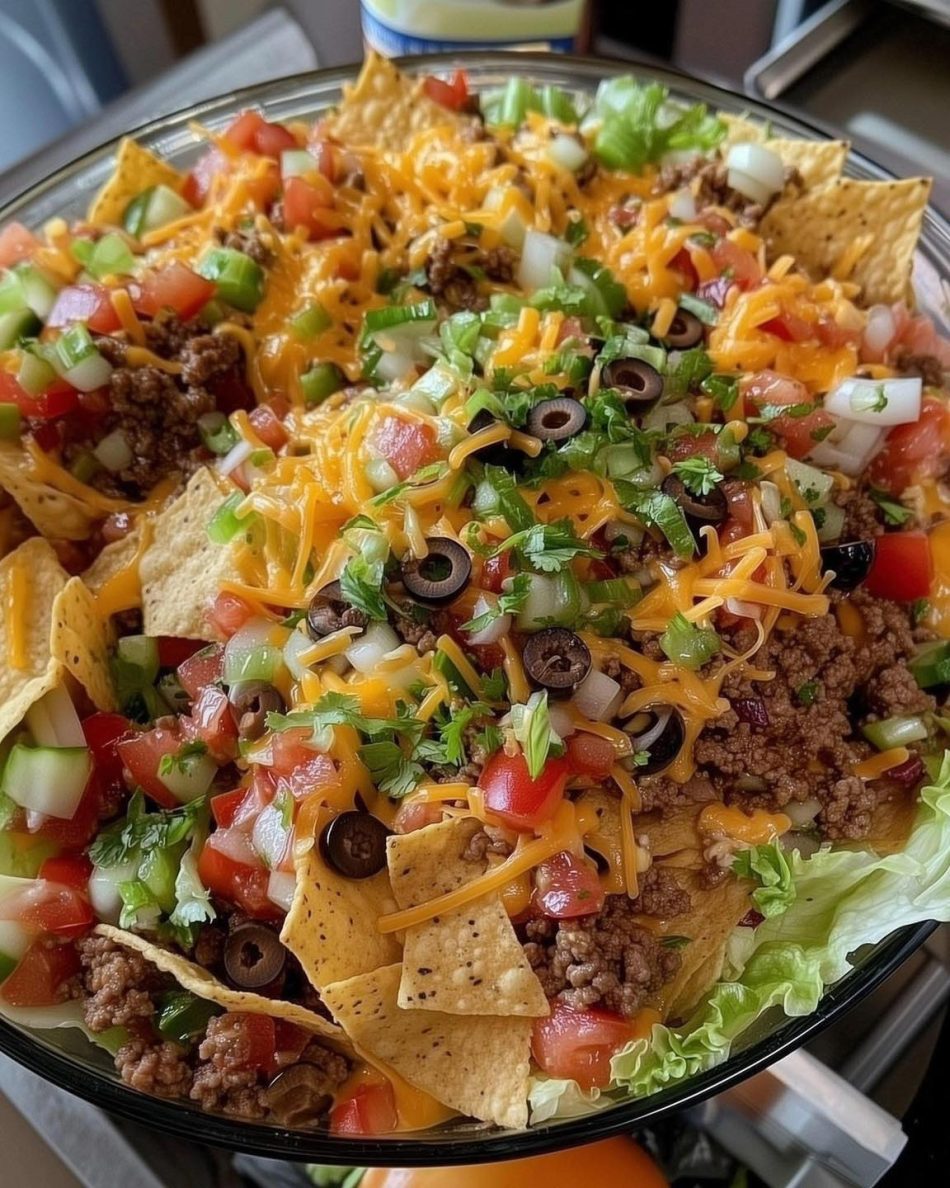
Follow these steps to ensure your salad looks as good as the photo and stays fresh until the last bite.
1. Brown the Meat
In a large skillet over medium-high heat, brown the ground beef until no longer pink. Drain the excess fat—this is crucial to prevent the salad from becoming greasy. Stir in your taco seasoning and a splash of water, simmering for 3–5 minutes until the sauce thickens. Let it cool slightly before adding to the greens.
2. Prepare the Base
Chop your lettuce into bite-sized shreds. Place them at the bottom of a large, clear glass bowl. This allows guests to see the beautiful layers you’re about to build.
3. Layer the Crunch and Protein
Add a thick layer of tortilla chips over the lettuce. Follow this immediately with the seasoned beef. The warmth of the beef will slightly soften the chips just enough to make them easy to eat without losing their snap.
4. Top and Garnish
Shower the bowl with a generous amount of shredded cheddar cheese. Finally, pile on the pico de gallo, sliced black olives, and extra cilantro.
Pro Tip: If you aren’t serving this immediately, keep the dressing and the chips on the side to prevent wilting!
Page 4: Serving Suggestions and Storage
Customizing Your Taco Salad Experience
A taco salad is only as good as its accessories. While the photo shows a “dry” build, most people love a creamy or zesty finish.
Best Dressing Pairings
-
Catalina or French Dressing: The classic “potluck style” choice—sweet and tangy.
-
Creamy Lime Cilantro: For a brighter, more modern flavor profile.
-
Salsa and Sour Cream: The simplest and most authentic way to dress the bowl.
Storage and Leftovers
Because of the chips and lettuce, this salad is best enjoyed immediately. If you anticipate leftovers, follow the “Deconstructed Method”:
-
Store the seasoned beef in a separate container.
-
Keep the chopped veggies and lettuce together in a sealed bag.
-
Only add the chips and dressing to individual bowls right before eating.