- December 7, 2025
Step 3: The Secret Butter Mixture (5 minutes) 🌡️
-
In a medium saucepan, combine the 1 cup butter and 1 cup water (or coffee).
-
Bring the mixture to a full boil over medium heat, stirring occasionally. Once boiling, immediately remove from the heat. Be careful! ⚠️
Step 4: Combine Wet and Dry (5 minutes) 💧
-
Pour the hot butter-liquid mixture directly over the dry ingredients in the large bowl.
-
Stir until just combined (don’t overmix!), making sure no dry streaks remain at the bottom. The batter will be thin—this is normal!
Step 5: The Final Additions (3 minutes) ✨
-
In a separate small bowl, lightly beat the 2 eggs with the $1/2$ cup buttermilk and 1 teaspoon vanilla extract.
-
Add this wet mixture to the chocolate batter. Stir until the batter is smooth.
-
Fold in the chopped nuts (if using). This batter is runny!
Step 6: Bake! (20-25 minutes) 🕰️
-
Pour the thin batter evenly into your prepared sheet pan.
-
Bake for $20-25$ minutes, or until a wooden toothpick inserted into the center comes out with moist crumbs attached (not raw batter!). Do not overbake! This is crucial for a fudgy texture.
-
Remove the cake from the oven and place it on a cooling rack while you prepare the glaze. Keep it warm!
Part 2: Making the Decadent Poured Glaze 🍫
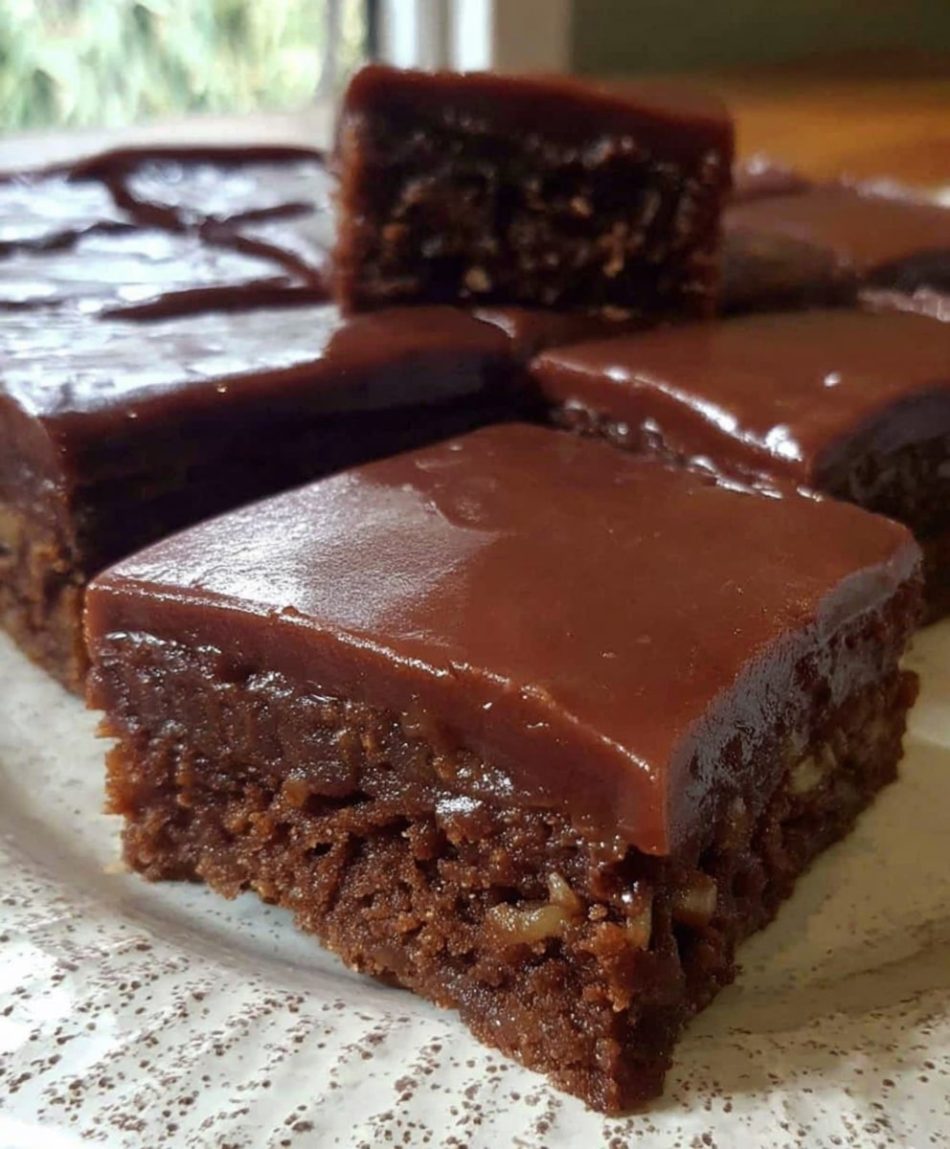
This glaze is what gives the cake its gorgeous, shiny finish, just like the one in your photo! It must be poured while the cake is still warm.
Step 7: Melt the Glaze Base (5 minutes) 🌡️
-
In a medium saucepan, combine the $1/2$ cup butter, $1/4$ cup cocoa powder, and $1/4$ cup milk.
-
Bring this mixture to a gentle boil over medium heat, whisking constantly until the butter is melted and the mixture is smooth and glossy.
-
Once boiling, remove immediately from the heat.
Step 8: Whisk in the Remaining Ingredients (5 minutes) 🥣
-
Quickly whisk in the 1 teaspoon vanilla extract.
-
Gradually add the $3$ cups sifted powdered sugar, whisking until the glaze is completely smooth and free of lumps. Work quickly! The glaze should be thick but easily pourable. If it’s too thick, add a tiny splash more milk; if too thin, add a tablespoon more powdered sugar.
Step 9: Glaze and Set (15 minutes) 💎
-
Immediately pour the warm glaze over the warm cake.
-
Use a rubber spatula or the back of a spoon to quickly spread the glaze evenly over the entire surface, covering all the edges.
-
If desired, quickly sprinkle with extra chopped nuts or sprinkles while the glaze is still wet.
-
Allow the glaze to set for about $15-20$ minutes before slicing and serving. It will firm up slightly as it cools.
💡 Pro Tips for Chocolate Cake Perfection!
To ensure your chocolate sheet cake turns out picture-perfect every time (just like the one you shared!), keep these professional tips in mind:
🌟 Ingredient Substitutions & Variations
-
Buttermilk Substitute: Don’t have buttermilk? Mix $1/2$ cup of regular milk with $1/2$ teaspoon of white vinegar or lemon juice. Let it sit for 5 minutes. Why? The acid reacts with the baking soda for a better rise and moister cake! 🍋
-
Boiling Water vs. Coffee: Using boiling coffee instead of water deepens the chocolate flavor without making the cake taste like coffee. It’s a chef’s secret! 🤫
-
Nut-Free Option: Simply omit the nuts from the recipe if you prefer a smooth, nut-free cake, or substitute with $1$ cup of mini chocolate chips for an extra chocolate kick! 🍫
-
Veganizing: This recipe can be adapted! Substitute the butter with vegan butter, the buttermilk with a non-dairy alternative (like soy or oat milk mixed with acid), and use a flax egg replacer for the eggs.
🔪 Slicing and Serving
-
Cool Before Slicing: Although the glaze is poured on warm, allow the glaze to set for at least 15-20 minutes before cutting. This prevents the glaze from running everywhere and gives you those beautiful, clean slices.
-
Cutting Method: Because the sheet cake is large, cut it into small $2 \times 2$ inch squares (or even smaller, $1.5 \times 1.5$ inches) to yield $24-35$ servings. This is why it’s called a crowd-pleaser! 🥳
-
Serving Suggestions: Serve plain, or top with a dollop of whipped cream, a scoop of vanilla bean ice cream, or fresh raspberries for a touch of tartness. 🍓🍦
❄️ Storage & Shelf Life
-
Room Temperature: This cake is best stored at room temperature in an airtight container for up to $3$ days. The moisture from the glaze keeps it incredibly fresh!
-
Refrigeration: You can refrigerate the cake for up to $5$ days, but let it come to room temperature before serving for the best texture and flavor.
-
Freezing: For long-term storage, cut the cake into individual servings, wrap them tightly in plastic wrap, and then foil. Freeze for up to $3$ months. Thaw overnight in the refrigerator or on the counter for a quick treat! 🧊
🙋♀️ FAQs: Your Baking Questions Answered!
Q: Why is my cake batter so thin? Is that normal?
A: Yes, it is perfectly normal! The addition of a large amount of hot liquid (boiling water/coffee and melted butter) makes this batter thinner than a traditional cake batter. This is actually a feature, not a bug, as it contributes to the cake’s signature moist and tender texture!
Q: Can I use a $9 \times 13$ inch pan instead of a sheet pan?
A: Yes, but with caution! A $9 \times 13$ inch pan is much smaller, so you will need to halve the entire recipe (cake and glaze). The baking time will also increase to about $30-35$ minutes. If you use the full recipe in a $9 \times 13$, it will overflow and burn. 🙅♀️
Q: Why did my glaze turn out too runny/too stiff?
A: This usually relates to the temperature and the amount of powdered sugar.
-
Too Runny: Add a tablespoon or two more of sifted powdered sugar until it reaches a pourable, medium-thick consistency. Make sure your powdered sugar was measured accurately!
-
Too Stiff: This often happens if you let it cool too much. Add a teaspoon of warm milk and whisk vigorously until it loosens up.
Q: Do I really have to pour the glaze on while the cake is warm?
A: Yes, absolutely! This is the key to achieving that beautiful, smooth, glossy, set finish seen in the photo. The heat from the cake helps the glaze melt slightly into the top layer, creating a sealed, ultra-moist surface that doesn’t crumble when cut. It’s non-negotiable for this particular cake style! ✨
📌 Final Thoughts: A Dessert for Every Occasion
This Fudgy Chocolate Sheet Cake with Decadent Glaze is more than just a recipe; it’s a tradition! Whether you’re celebrating a birthday, hosting a backyard BBQ, or just craving the rich taste of homemade chocolate, this cake is your answer. Its simple preparation, large yield, and unforgettable flavor make it a true winner. Give it a try, and watch it disappear in minutes! 💨😋
Happy Baking! And don’t forget to send us your photos! 📸
🔗 Related Recipes You Might Enjoy
-
The Best Homemade Brownies (Fudgy or Cakey?)
-
Easy No-Bake Peanut Butter Bars
-
Classic Vanilla Bean Cheesecake