


- October 17, 2026
Instructions
1. Prepare the vegetables
Wash the chili peppers, tomatoes, cilantro, and other fresh ingredients thoroughly. Remove the stems from the peppers and roughly chop everything into smaller pieces.
For a milder sauce, remove some or all of the chili seeds. If you prefer a fiery sauce, keep the seeds and membranes intact.
Peel the garlic cloves and roughly chop the onion. The ingredients do not need to be perfectly diced because they will be blended later.
2. Toast the spices
Place a dry skillet over medium-low heat. Add the cumin seeds and fennel seeds.
Toast them for about 1–2 minutes, stirring frequently, until they become fragrant. Be careful not to burn them because burnt spices can make the sauce taste bitter.
Remove the skillet from the heat and allow the spices to cool slightly.
3. Cook the vegetables
Heat the oil in a large skillet or saucepan over medium heat. Add the chopped onion and cook for 2–3 minutes until it begins to soften.
Add the garlic and cook for another minute, stirring continuously.
Next, add the chopped red and green chilies and tomatoes. Stir everything together and cook for approximately 8–10 minutes.
The tomatoes should soften and release their juices, while the peppers should become tender. You do not need to completely dry out the mixture.
4. Add the spices
Add the toasted cumin and fennel seeds to the pan along with the red pepper flakes, black pepper, paprika, ground cumin, and salt.
Stir well and continue cooking for another 2–3 minutes. This allows the spices to infuse into the oil and vegetables.
Turn off the heat and let the mixture cool for several minutes.
5. Blend until smooth
Transfer the cooked mixture to a blender or food processor.
Add the fresh cilantro or parsley, vinegar, lemon juice, and sugar or honey.
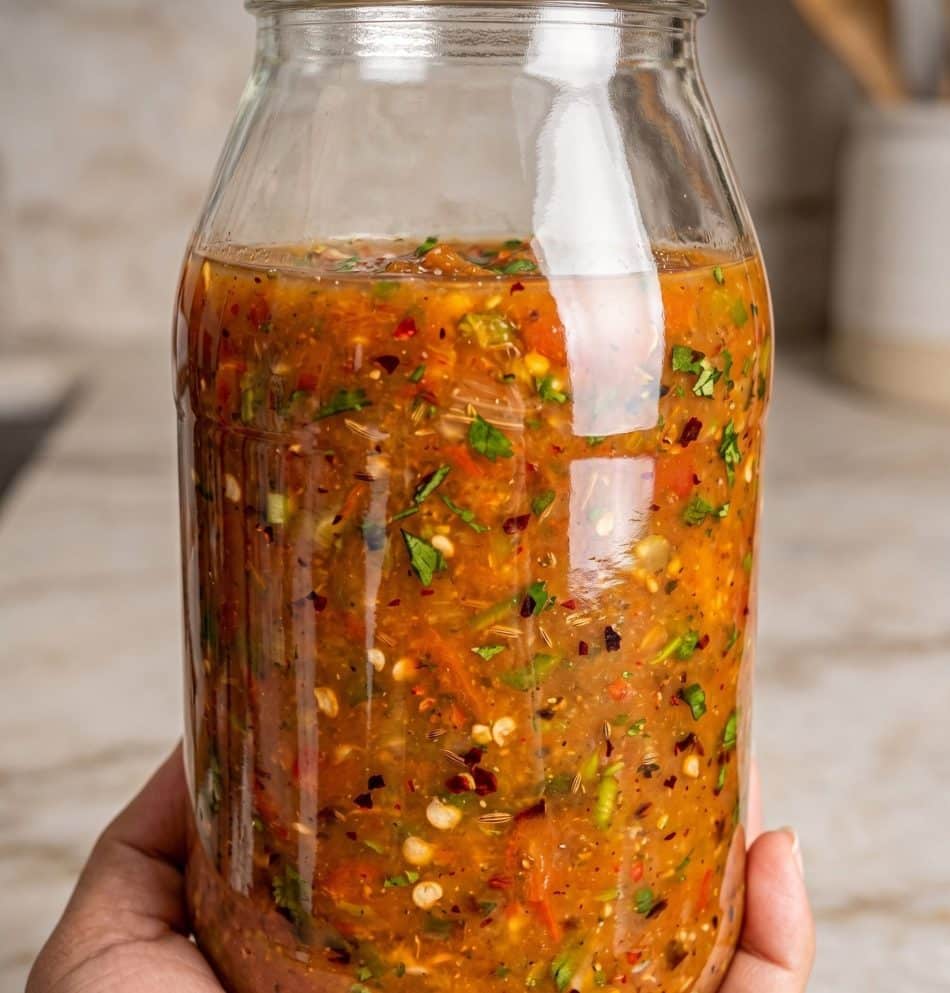
Blend until the sauce reaches your preferred consistency. For a completely smooth sauce, blend for longer. If you prefer a rustic chili sauce, pulse it several times until small pieces remain.
If the sauce is too thick, add a tablespoon or two of water or additional oil and blend again.
6. Adjust the flavor
Taste the sauce carefully and adjust the seasoning.
Add a little more salt if it tastes flat, vinegar or lemon juice for extra tanginess, or sugar if the chili flavor is too sharp.
If you want more heat, add additional fresh chilies or red pepper flakes.
The finished sauce should have a balanced combination of spicy, tangy, savory, slightly sweet, and aromatic flavors.
How to Store
Allow the sauce to cool completely before transferring it to a clean glass jar.
Store it in the refrigerator and always use a clean spoon when serving. Because this is a homemade sauce containing fresh vegetables, herbs, and oil, refrigeration is important.
For longer storage, freeze the sauce in small portions. Ice cube trays work particularly well because you can thaw only the amount you need.
How to Serve
This spicy chili garlic sauce is incredibly versatile. Serve it alongside grilled chicken, roasted vegetables, eggs, rice, noodles, sandwiches, wraps, or burgers.
It also makes an excellent dipping sauce for dumplings, spring rolls, fries, or crispy vegetables.
For an easy meal, spoon it over cooked rice with a fried egg and fresh herbs. You can also mix a tablespoon into mayonnaise, yogurt, or sour cream to create a quick spicy dipping sauce.
Recipe Tips
- For less heat: Use mild red peppers and remove the seeds.
- For extra heat: Add hotter chilies or increase the red pepper flakes.
- For a sweeter sauce: Add another teaspoon of sugar or honey.
- For extra tang: Increase the vinegar or lemon juice slightly.
- For a thicker sauce: Simmer the blended sauce gently for a few additional minutes.
- For a smoother texture: Strain the finished sauce through a fine-mesh sieve.
The result is a colorful, homemade chili sauce with plenty of fresh flavor and a delicious spicy kick. Once you make a batch, you can keep it on hand to instantly add flavor and heat to everyday meals.


